
How We Expertly Mix and Match Patterns for Your Space

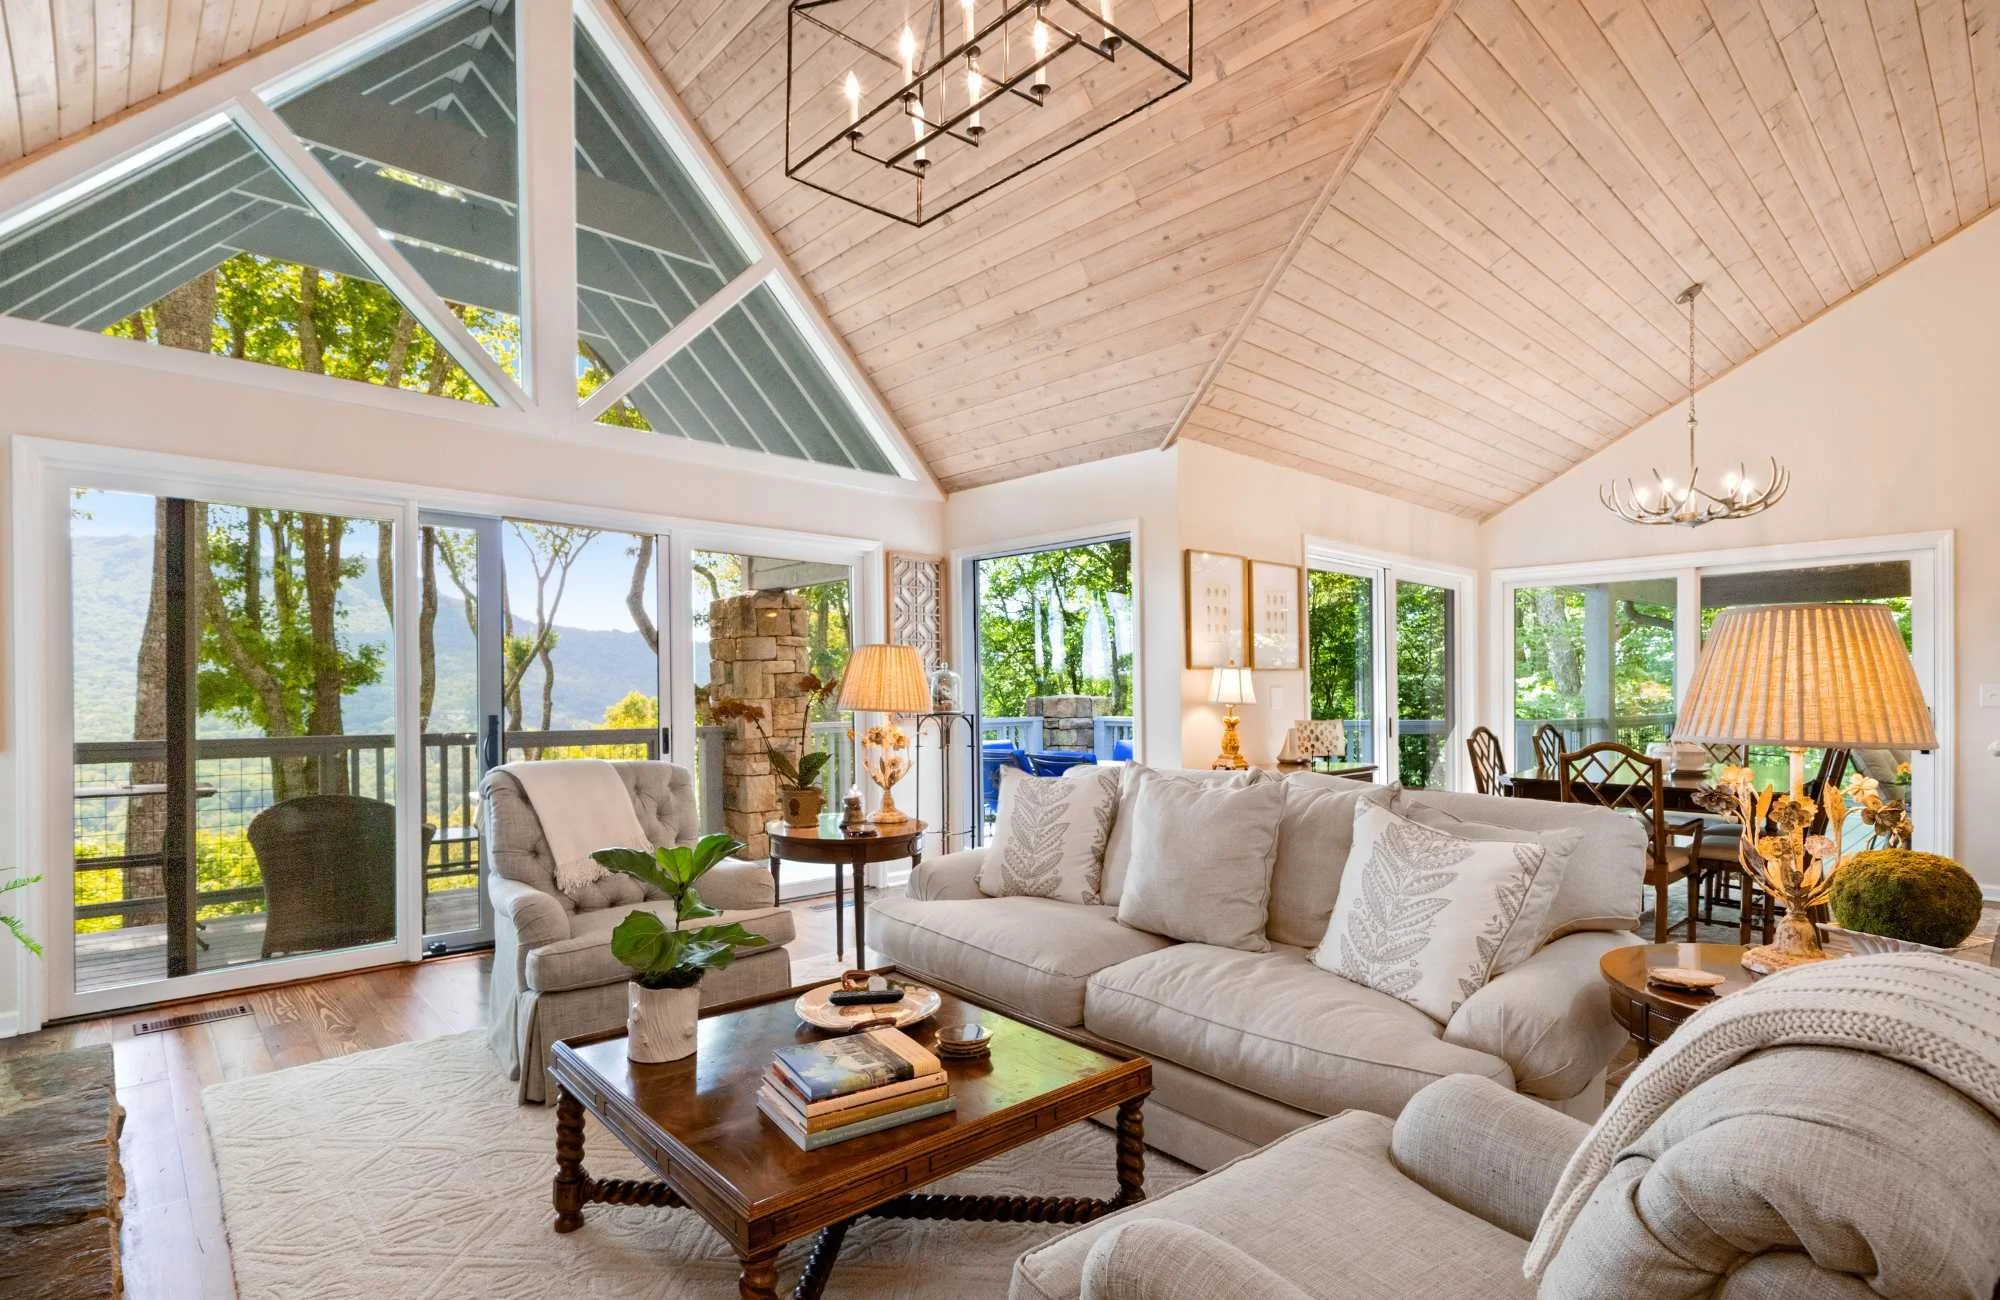
Mixing patterns in your home elevates your space by adding depth, character, and movement. Patterns introduce visual interest through their colors and designs, guiding the eye and enhancing the way light reflects around the room. Choosing and using patterns is personal and a great way to showcase your personality in your home. Today, I'm going to walk you through my five-step process for mixing and matching patterns to create an authentic vibe and a mood that speaks volumes.
Step #1: Explore a Curated Color Palette
The first step is to embrace and explore a curated color palette. When working with a new client, I like to ask a series of questions to better understand their preferences when it comes to colors, patterns, finishes, and style. This helps me create a realm of possibilities, whether enhancing the client's existing interior design or creating fresh avenues to explore.
I suggest that clients keep an open mind and consider their color preferences so we can move forward with a clear, directional vision. Explore what patterns speak to you here.

Step #2: Select the Design Bridge Element
In step two, we decide on the specific elements to use as a "design bridge," which will seamlessly integrate colors and patterns. Common design bridges include artwork, rugs, throw pillows, and wallpaper. My role is to help you identify the design bridge you'd like to use in your space and guide you in selecting the best way to feature each one in your home. The “Creating Continuity and Flow” package is great for starting this process.

Step #3: Source Items in a Variety of Scales
Step three involves sourcing patterns in a variety of scales. Patterns fall within a spectrum, featuring small, medium, and large-sized designs. Coordinating your chosen patterns with different scales is important to avoid creating negative space by leading the eye with overly busy or obtrusive styles. For example, an oversized print may be perfect for a large open-concept room but could feel overwhelming in a small, confined space. The goal is not to compete but to complement.
Step #4: Preview the Design Using Tried-and-True Tools
In step four, we test our design concepts, pattern combinations, and design bridges using tried-and-true tools. By this stage, my team will often have narrowed down the combinations and put together one or two mood boards, which include swatches. Additionally, we may commission 3D renderings of the space to provide a clear visual aid. Both options are excellent for presenting our design concepts while maintaining accuracy to a scale model.

Step #5: Bring It All Together on Install Day
Last, step five incorporates each advance in technique and leads us to the most exciting part of the design process: install day! This is when clients see how the patterns and colors come together in their space in real time and enjoy the final components of the design.
I always enjoy seeing the smiles on my clients' faces as they look around and see their selections beautifully executed. It can often be challenging for them to fully imagine how the vibe will feel once their selections are in their home, so it is always rewarding to know that all the reassurances along the way are valued and significant during the reveal.

To recap, pattern mixing is a delightful way to elevate your space. By blending variations in scale, patterns naturally lead the eye, creating balance, cohesion, and ideal implementation. Adding visual interest and personality to your room provides uninterrupted inspiration and all the good feels, especially with a mixed design that creates a stunning, layered, yet coordinated look.
If you need help with the palette or styling your space, don't be shy! We'd be happy to help. Check out our “Creating Continuity and Flow” package and contact us today.
Sign up for our newsletter below and get your FREE guide: How Virtual Design Can Benefit You!
Warmly,
Celeste


